aka. Seshpenguin
title: Upgrading the XYZ Server! (PowerMac G5, OWC SSD, and more!) author: Seshan Ravikumar type: post date: 2020-04-19T15:54:37+00:00 url: /2020/04/19/upgrading-the-xyz-server-powermac-g5-owc-ssd-and-more/ classic-editor-remember:
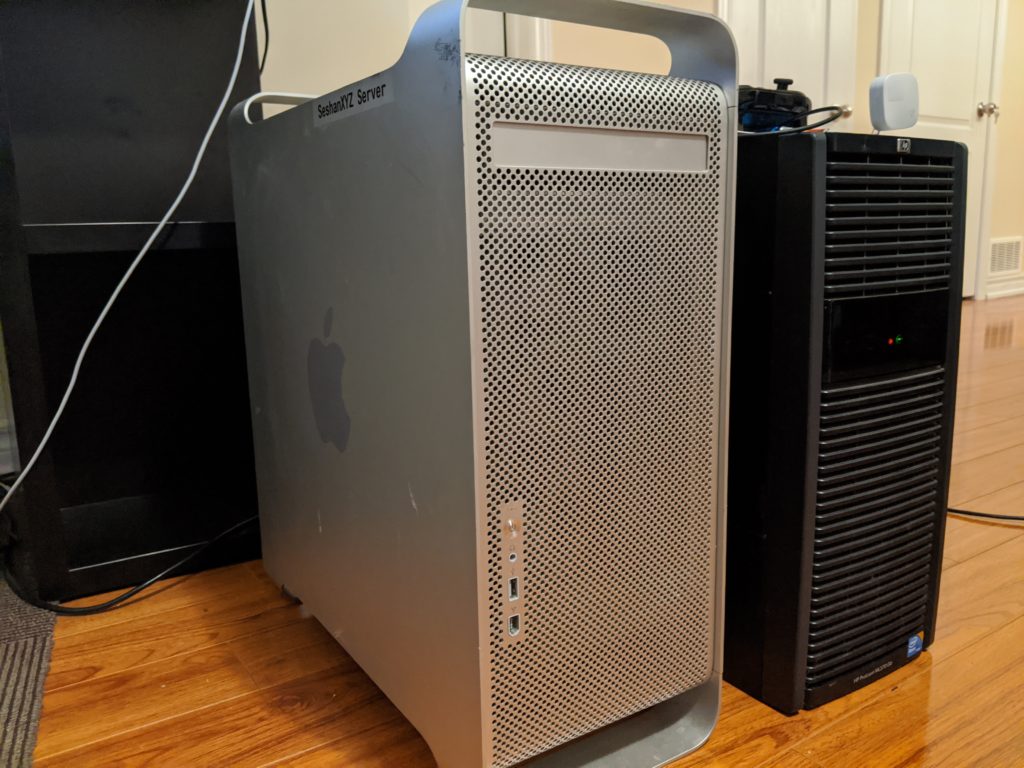
Hey! As a many of you know the Seshan.XYZ Server is a PowerMac G5 running Ubuntu Server 16.04 (which happens to be the last version of Ubuntu that Canonical provides PowerPC support for).
When I bought this G5 originally it didn’t have a HDD, and so I just picked out a random SATA HDD that I had lying around. It was some random 80GB 7200RPM drive, and was fairly old since it was pulled out of a P4 OptiPlex. ****That was always supposed to be a temporary measure to just test the G5 out, but it ended up running in there for a while… Until I got an upgrade!

I went with an OWC SSD for a pretty specific reason. If you don’t know, OWC specializes in Mac (and in particular, vintage Mac) upgrades. See, the G5’s SATA controller is SATA 1. And while technically all SATA versions are supposed to be backwards compatible, a lot of modern SATA 3 (6 Gbit/s) SSDs just don’t work with the G5’s SATA controller.
This OWC SSD is guaranteed to be compatible with the G5 (plus it has some nice extras, for example the SSD Controller is tuned to work well even without TRIM, great if you run older OS X versions).
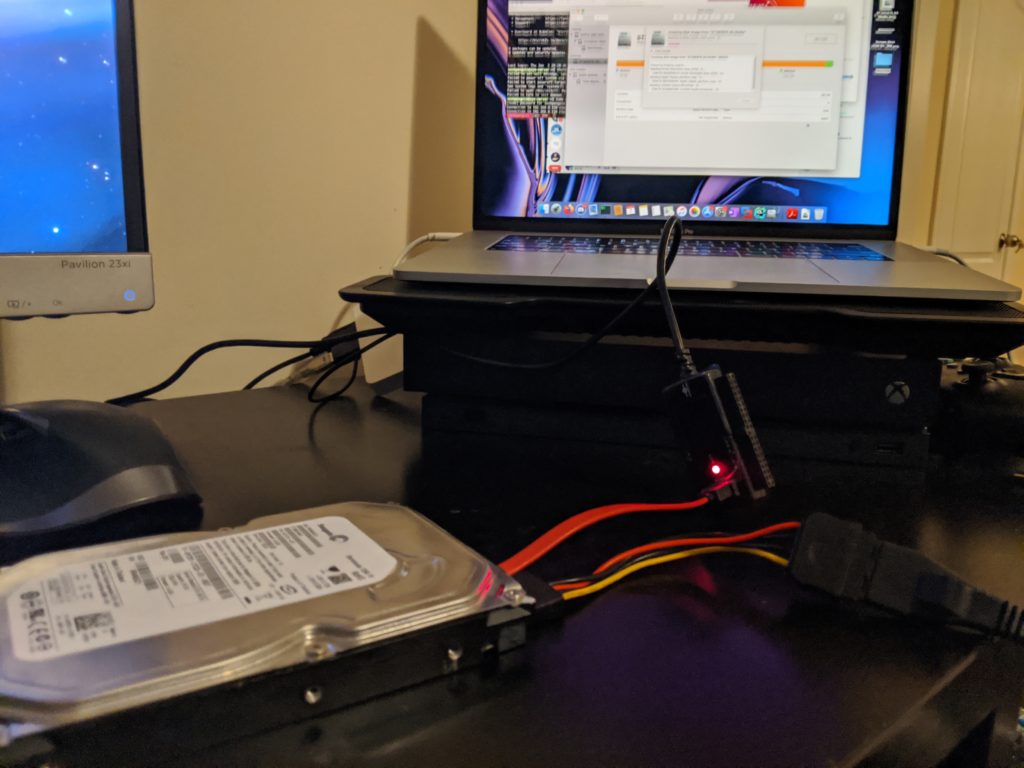
I first tried to create a disk image of the old hard drive using Disk Utility, and then restore the image to the SSD. For some reason, this didn’t end up working, probably because disk utility doesn’t like the Linux partitions.
In any case, what I did what plug both the SSD and HDD into the G5, and boot a Leopard installer. Then from the terminal I used dd to clone the drive, and it worked perfectly! Of course, before I did this I couldn’t resist installing Leopard back on the G5 first…

And yea, the G5 is now fitted with an OWC SSD! There were still a couple more tweaks I had to make while I had the server offline.
One annoying thing with the G5 is it seems to refuse to boot Linux when there is no display connected up, it just stalls at a boot loader and the fans spin up to 100%. I’m not entirely sure why, but a quick fix was to use one of these DVI “headless dongles”. Basically it emulates a display being connected to the GPU and let’s the G5 happily boot.
Another interesting bug was with predictable network interface names (the new naming standard that gives you enp0s-whatever instead of eth0). For some reason, the interface name wasn’t predictable at all and kept changing at boot. I’m not sure who to blame here, but it’s probably the Linux kernel’s Sun GEM ethernet drivers (looking at the source code, it appears it hasn’t had any major updates in quite some time…). In any case, I don’ really need predictable network names in this case, since I don’t plan to have more than one network interface in this server. Reverting to the old naming scheme is as simple as passing some additional kernel boot options:
net.ifnames=0 biosdevname=0And there you go! The newly upgraded and patched Seshan.XYZ server! I also did some other housekeeping, like disabling some systemd units that I didn’t need and were failing on boot.